How to stake Namada NAM with Stakely?

While many of you already staked NAM during the pre-delegation phase, with the launch of Namada’s mainnet, we’ve received numerous questions about how to stake your NAM tokens and contribute to the security of this privacy-focused blockchain.
That’s why we’ve prepared a step-by-step guide to help you stake NAM easily and securely with Stakely.
How to stake NAM with Stakely?
If you’re not yet familiar with Namada, let us tell you that it’s an L1 blockchain designed to preserve the privacy of fungible and non-fungible assets without compromising speed or requiring high fees for transfers.
Ready to delegate your NAM tokens? We assure you it’s very simple. Just follow these steps:
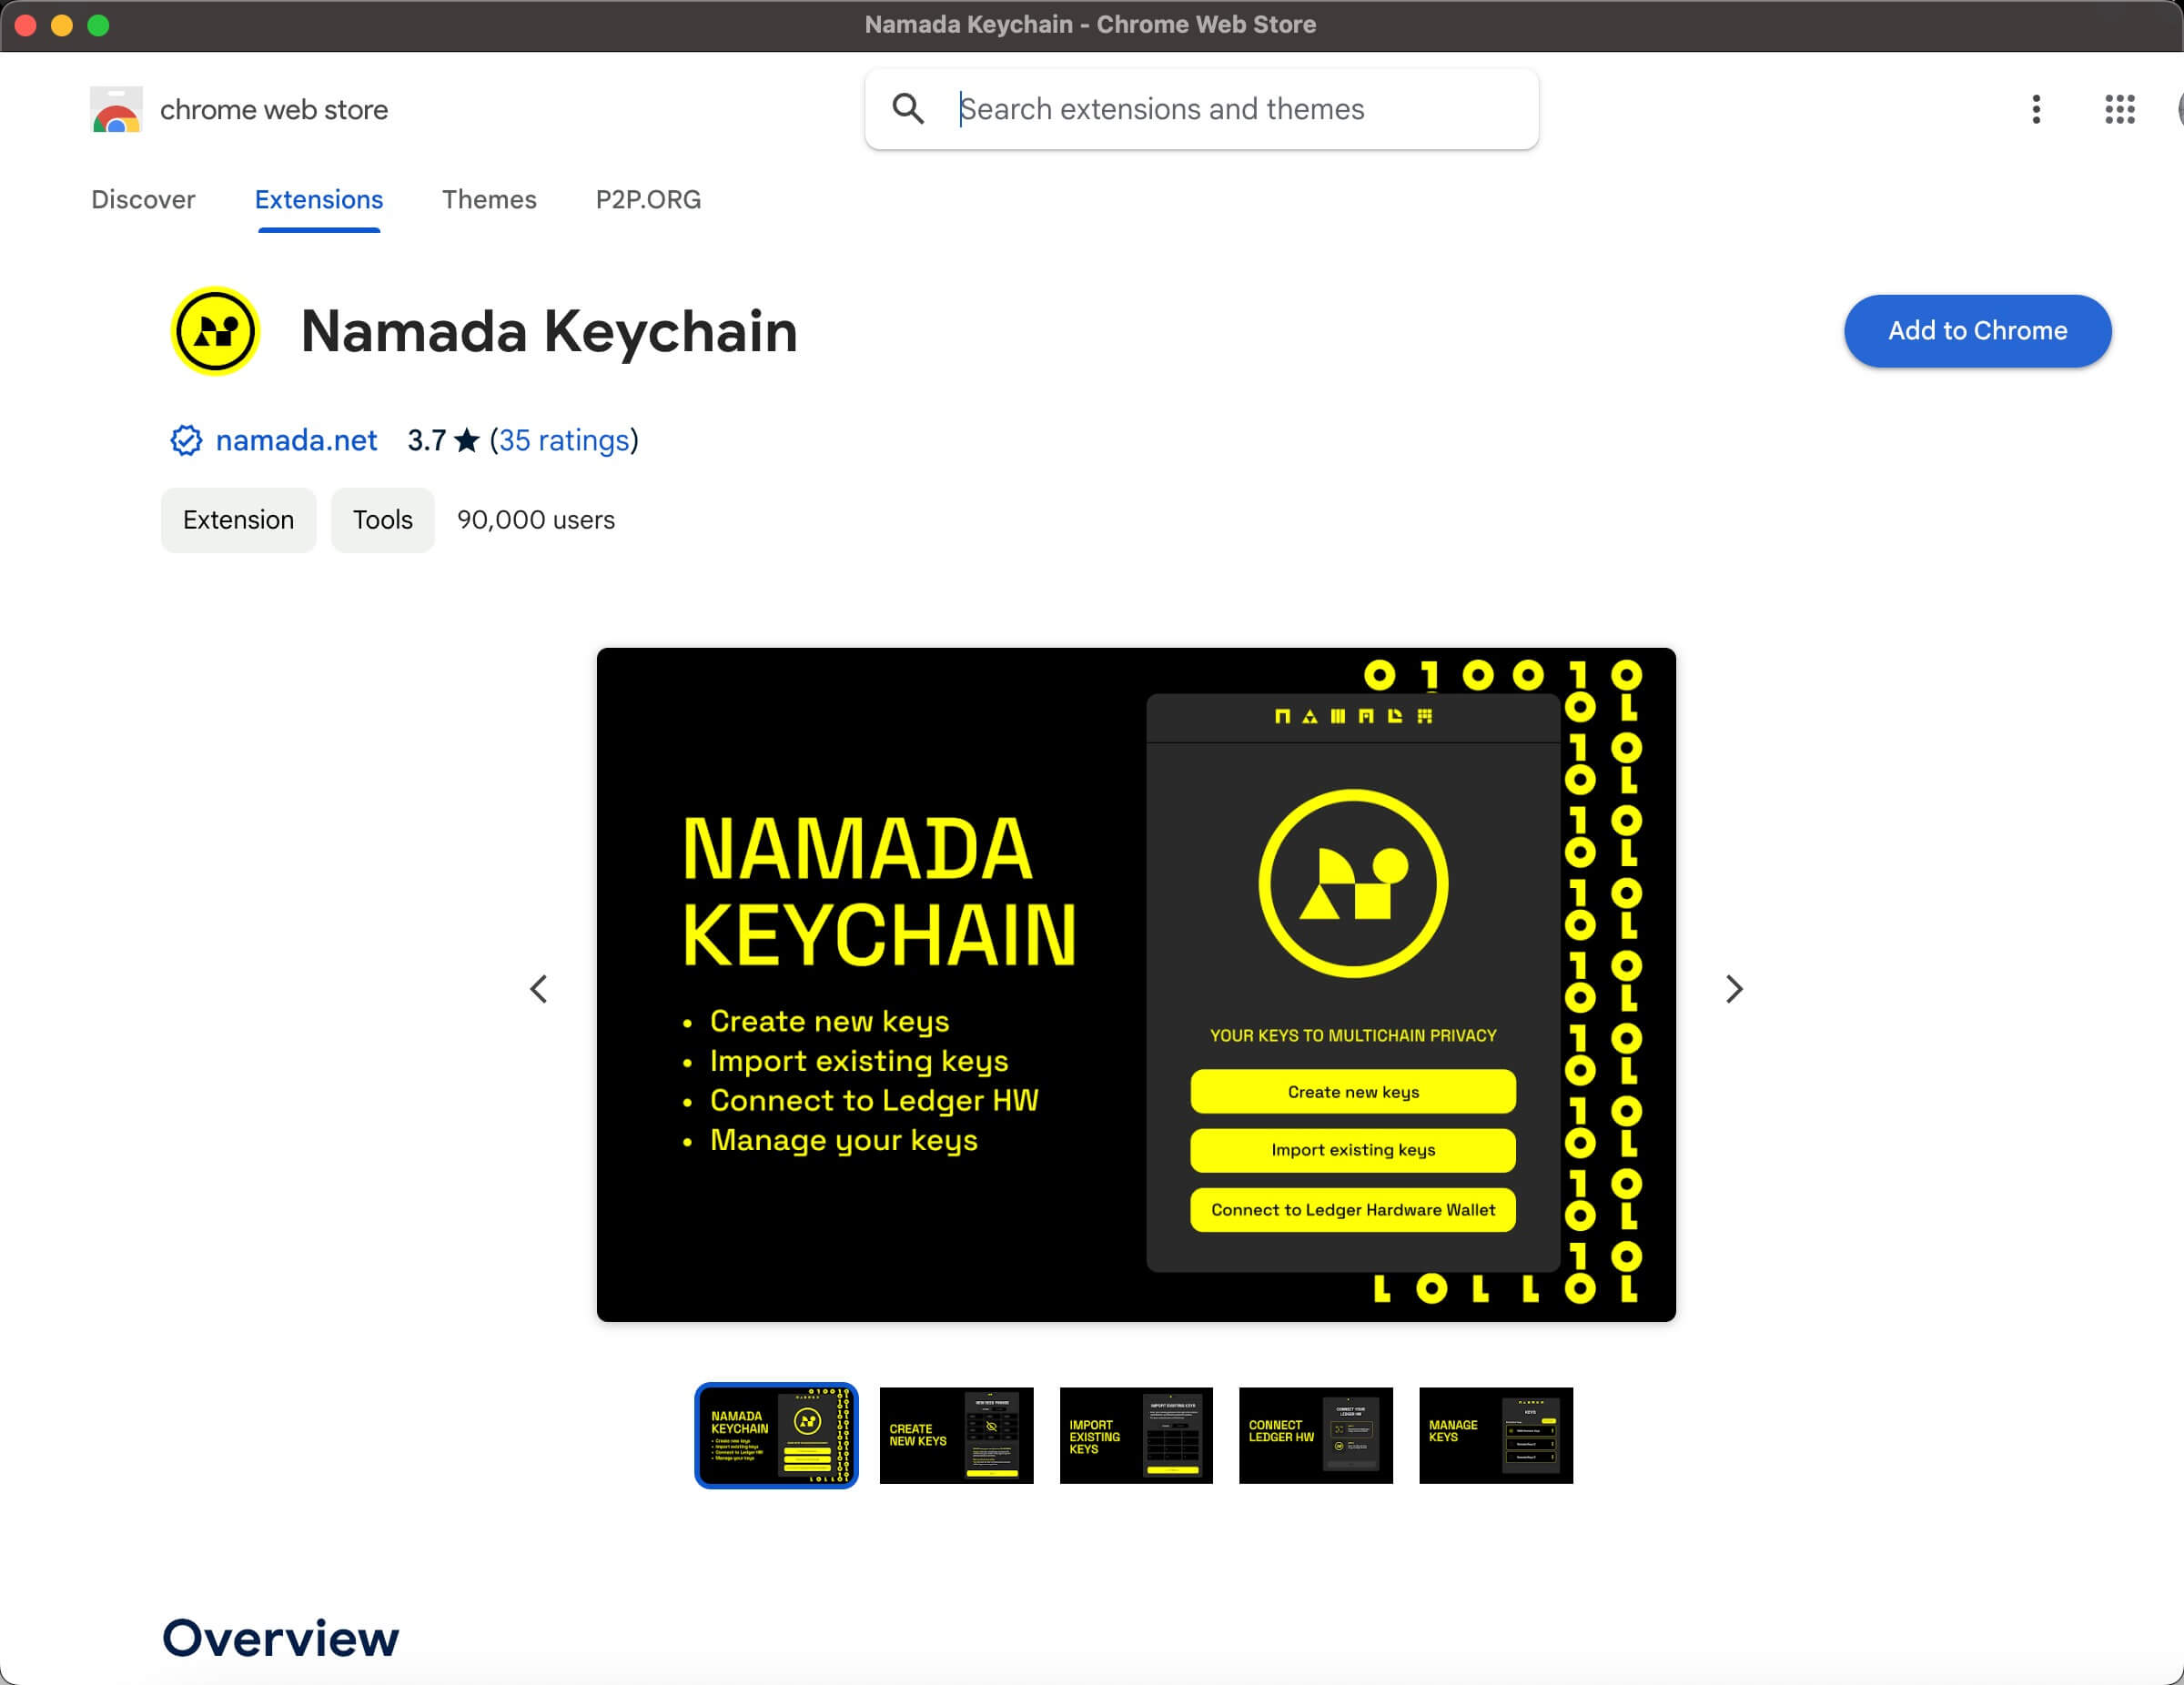
- Install the Namada Keychain Browser Extension, compatible with Chrome and Firefox.


- Log in and set up a new wallet, either by importing an existing one with a 12-24 word recovery phrase or connecting a hardware wallet. For the latter, ensure the Namada app is installed on Ledger Live.


Verify random words from your recovery phrase and set a password for your Namada wallet.
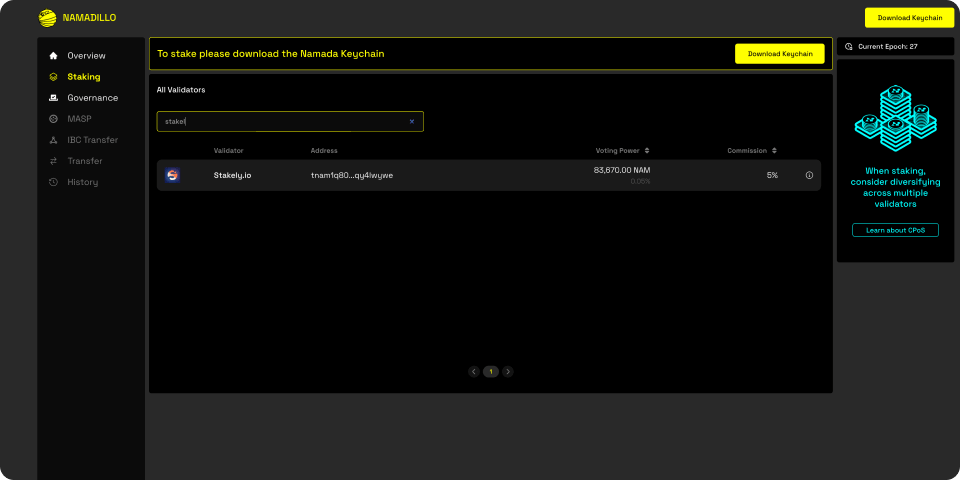
Access the “Namadillo” interface to find Namada’s main dashboard. Be sure to open this in the browser where you installed the extension in the previous step.
Connect your Namada Keychain Wallet by clicking on “Connect Keychain.”


Approve the connection in the Namada Keychain extension.
Once in the main menu, click the blue “Stake” button at the bottom of the screen, or go to the Staking tab on the left panel.


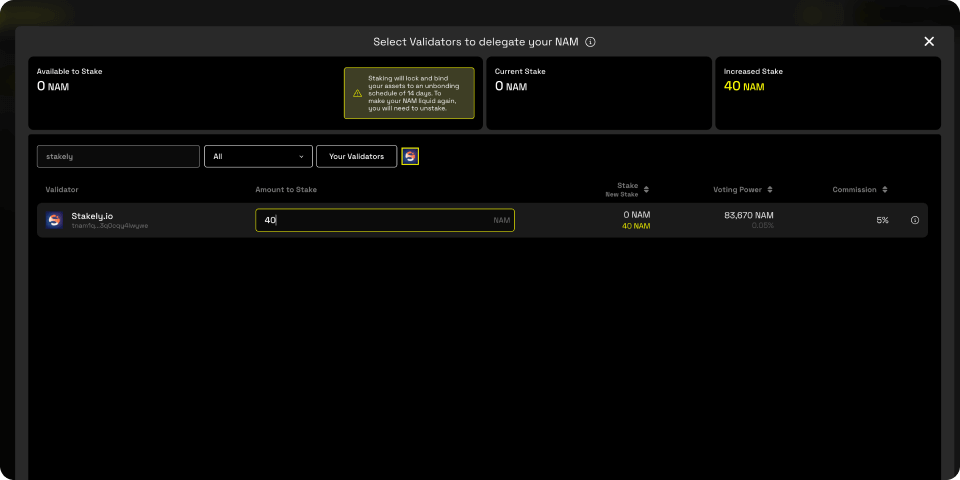
- Select Stakely as your trusted validator, either by searching for it in the search bar or entering our validator address: tnam1q80ajrpqzv0vz9sl5ye22rprjt3k3q0cqy4lwywe


- Specify the amount of NAM tokens you want to delegate. You can stake as much as you like, depending on your strategy. Also, remember that the transaction fee will be deducted directly from your account.


Confirm the transaction by clicking “Approve.” Before doing so, review the delegation details carefully.
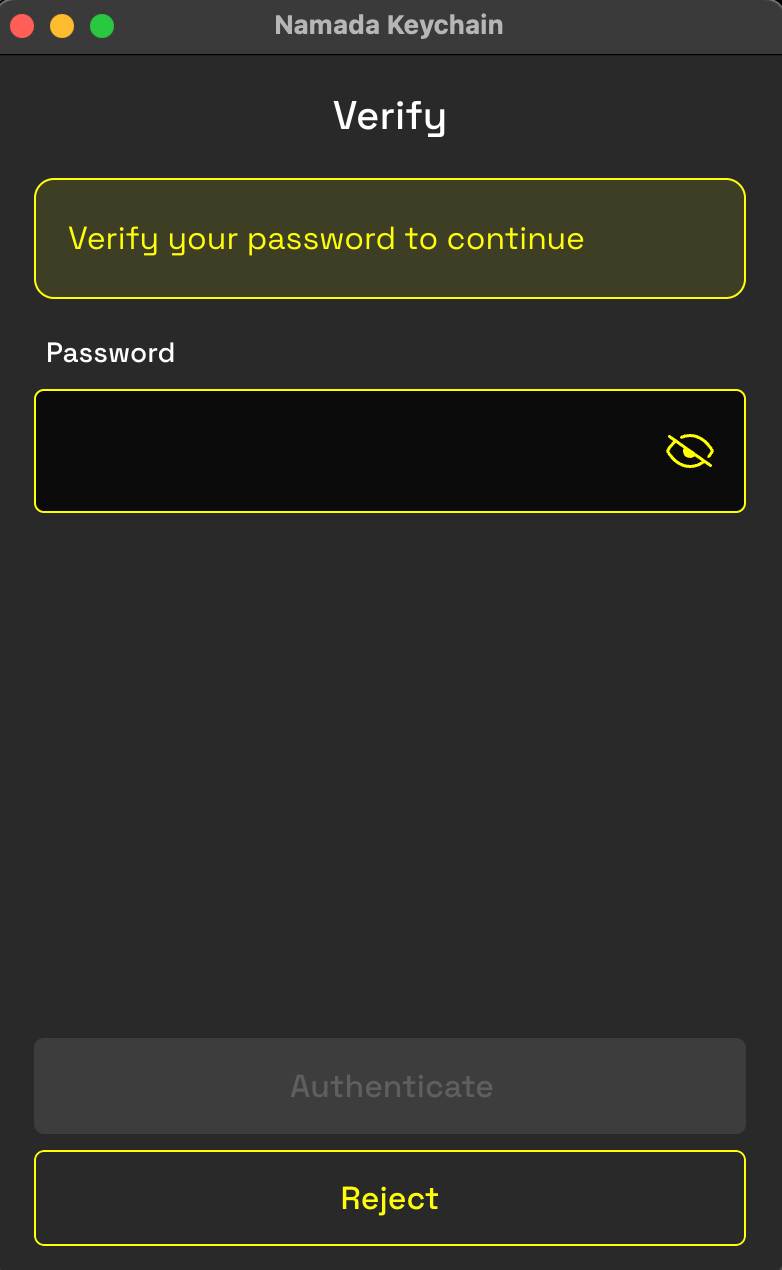
Enter the password you set up for your Namada Keychain Wallet to finalize the transaction.


- Wait for the transaction to complete.


Done! That’s how in just a few seconds you’ll have successfully delegated your NAM tokens and can start enjoying your rewards!
As a validator, Stakely guarantees you a secure and reliable process with our Staking Insurance, giving you the peace of mind you need. Based in Spain, we adhere to the highest security standards, including ISO certification, allowing us to operate under strict security protocols.


