How to stake MON with Rabby
Follow this step by step below
Create or import your Rabby wallet
To stake MON, you’ll need a compatible wallet. Install the Rabby Wallet browser extension from the link above. From the extension, you can create a new wallet, import an existing one, or connect your hardware device if you use one. Make sure you choose a strong password and store it somewhere safe.
Connect your wallet on Stakely
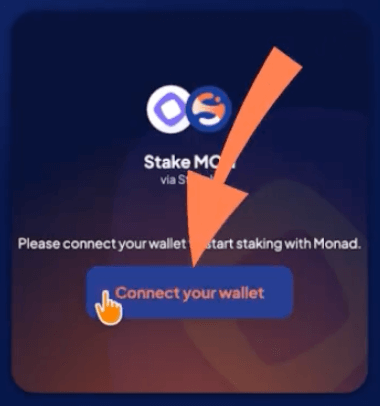
Go to stakely.io and scroll to the token list. Select MON. If you don’t see it, click View all to open the full list. Then click Connect your wallet.
In this example, we’ll use Rabby, so select it from the list.
Enter the amount of MON you want to stake
Type the amount of MON you want to delegate in the input field.
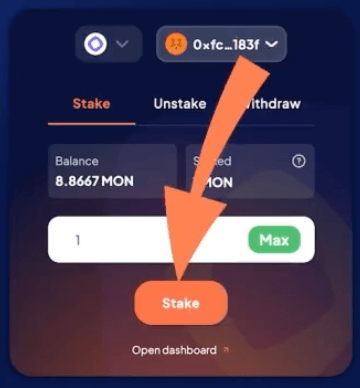
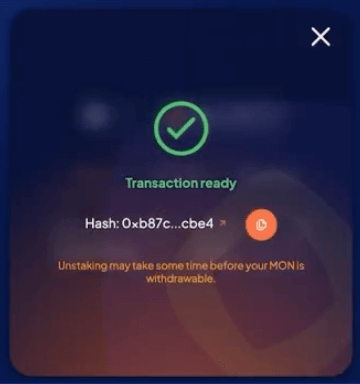
Confirm your staking and approve the transaction
Click Stake and approve the transaction in Rabby. Then click Open dashboard to access Monad’s staking dashboard, where you can track your position and claim your MON staking rewards.