How to stake DATA with Rabby
Follow this step by step below
Create and connect your Rabby wallet
To stake IP, install the Rabby Wallet extension compatible with your browser. From the extension, you’ll be able to create a new wallet, import an existing one, or connect your Ledger. Remember to choose a strong password and store it in a safe place.
Then go to staking.datafdn.org and click on Connect wallet to connect your wallet. From the list of options, select Rabby Wallet and approve the connection from the extension.

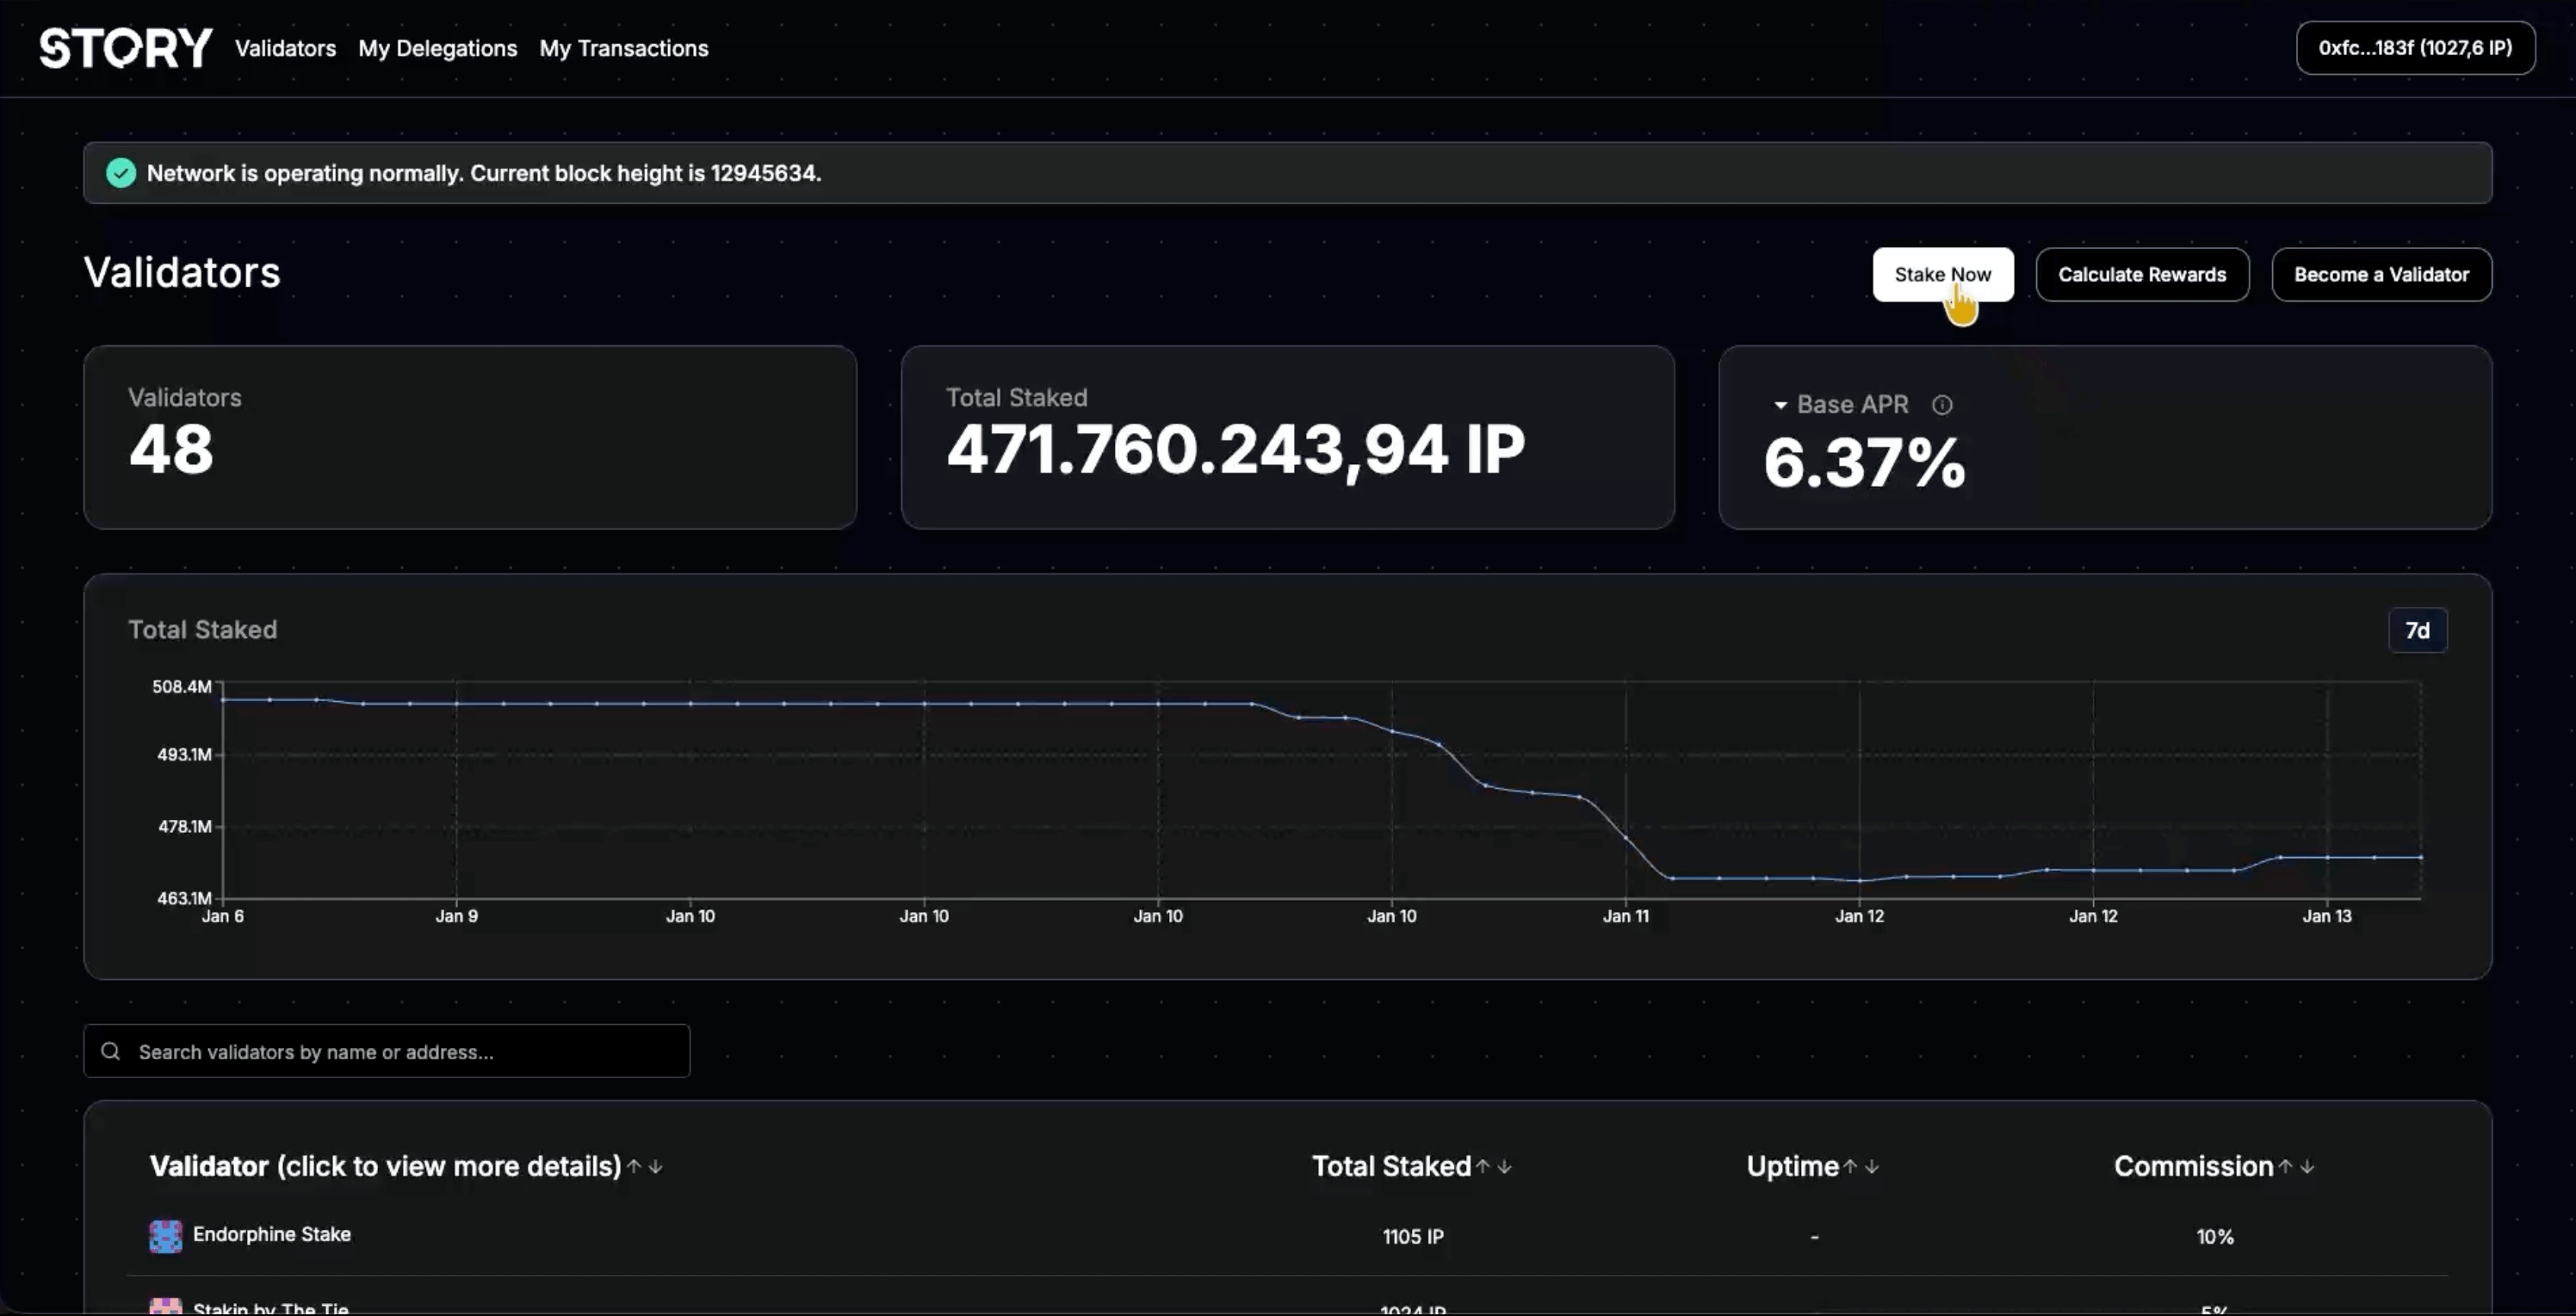
Stake DATA
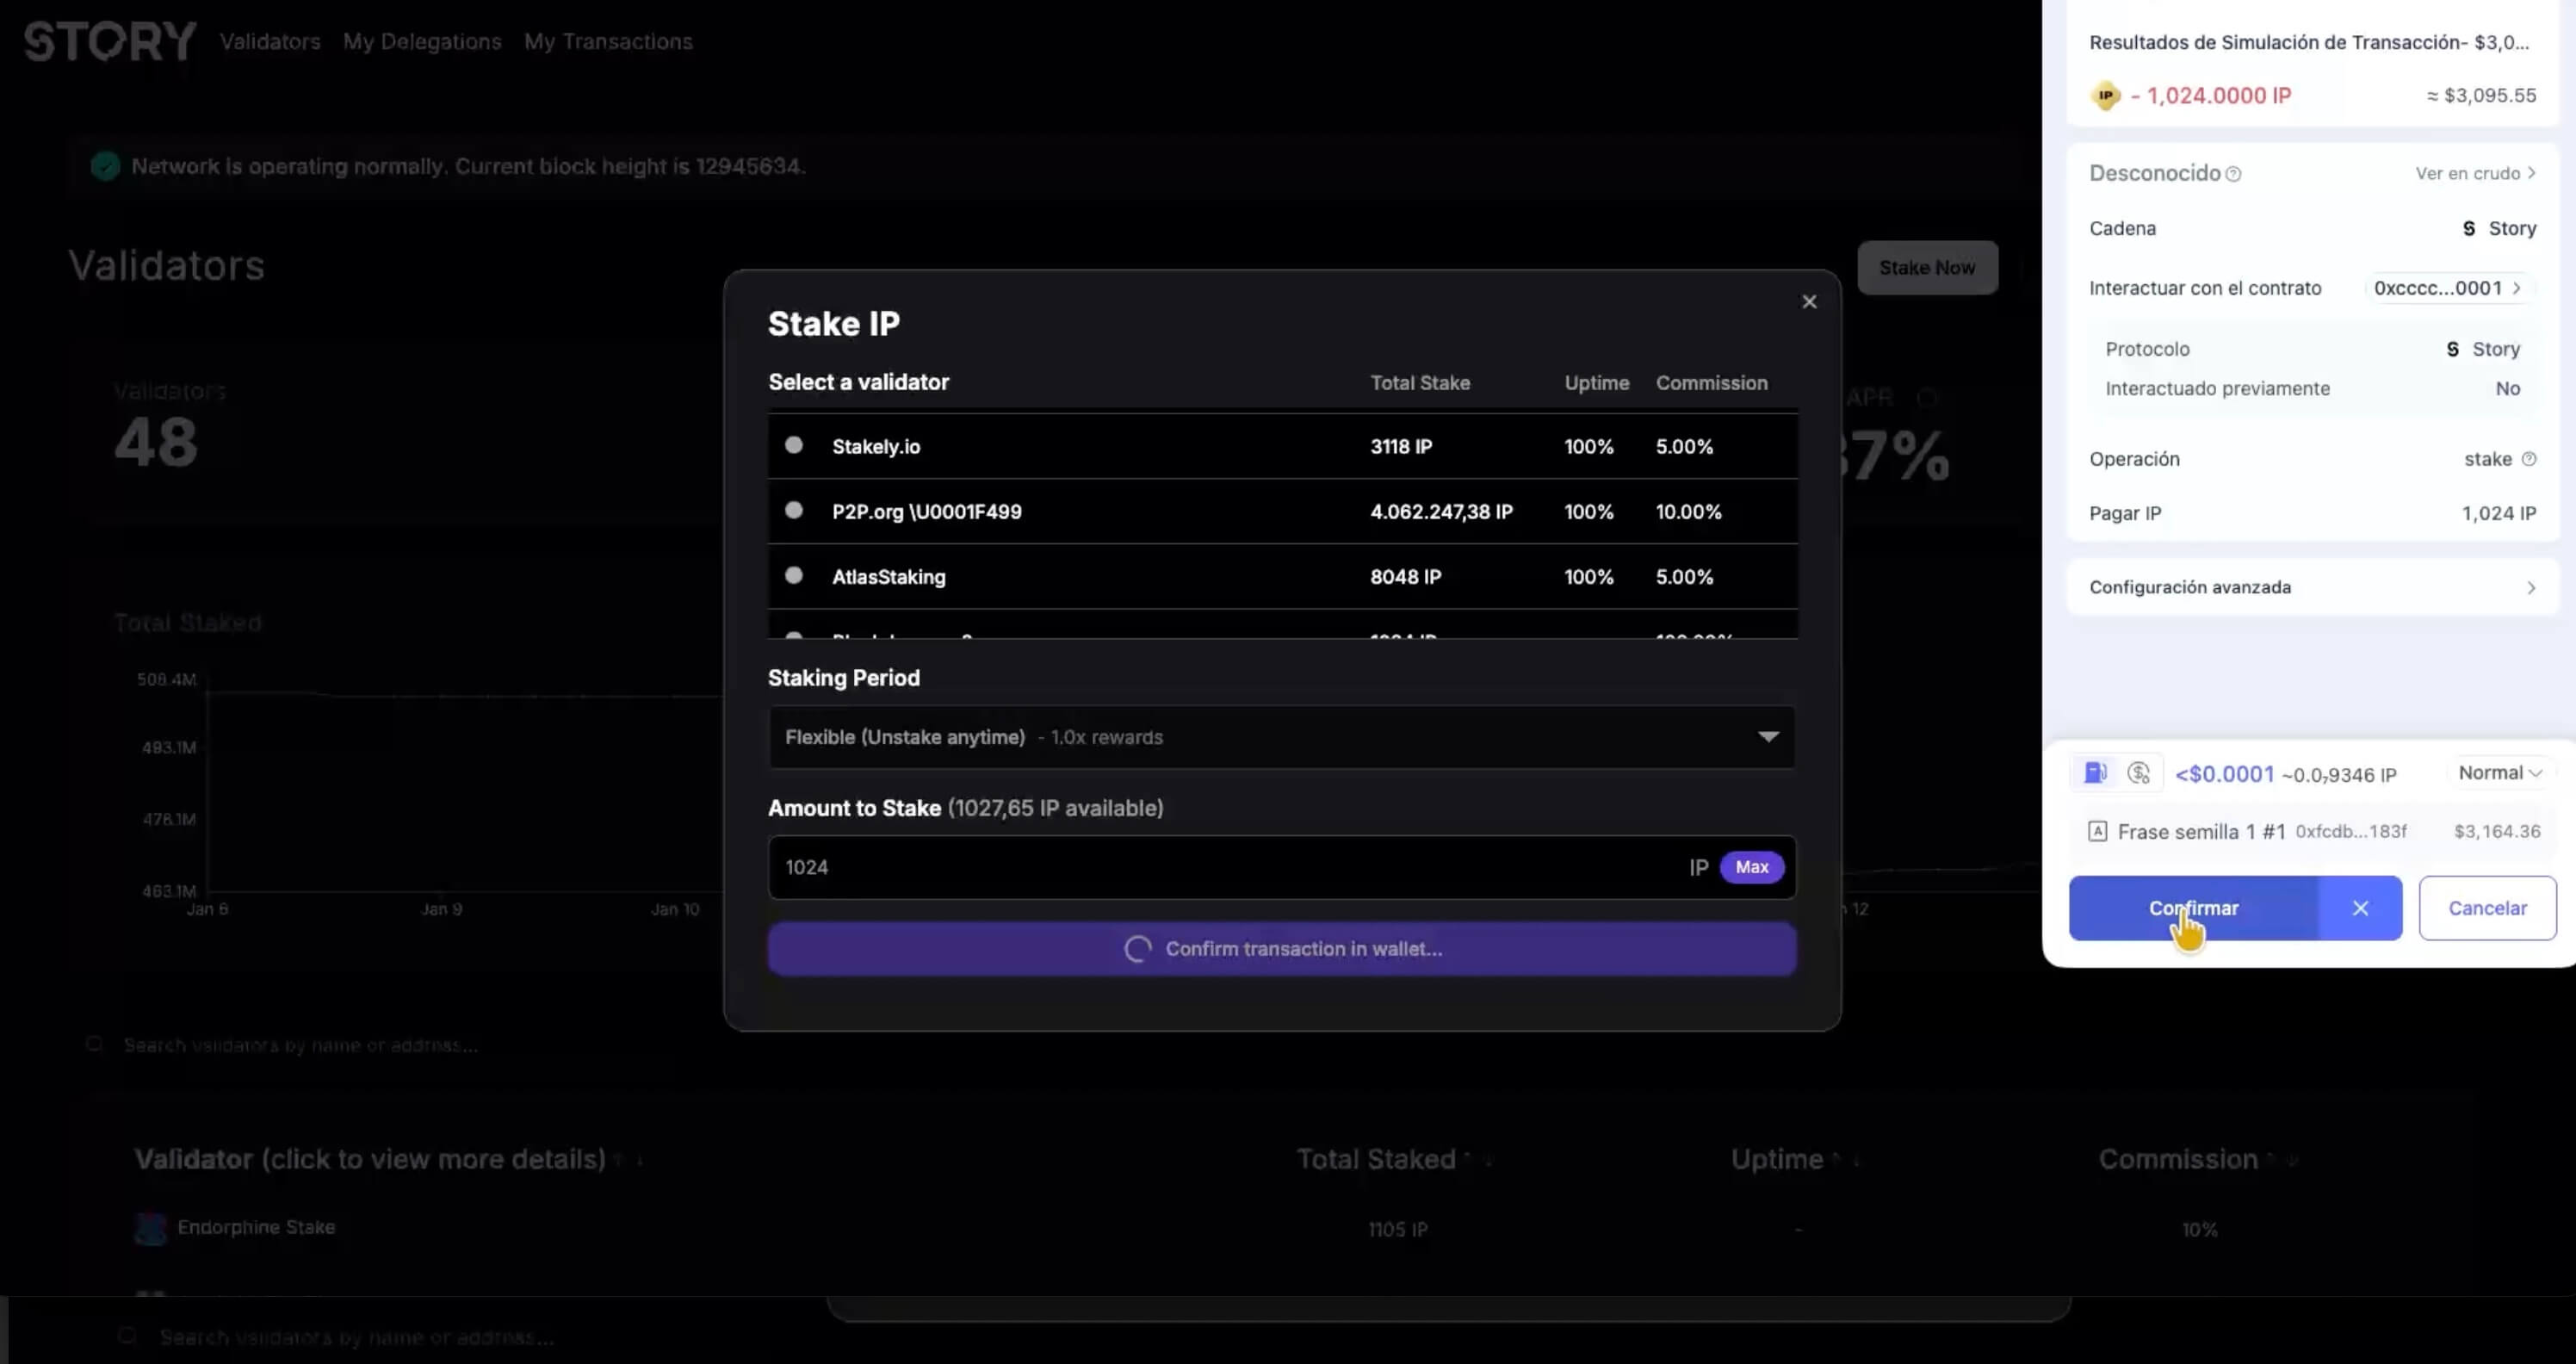
Once your wallet is connected, click on Stake now to start the DATA (formerly IP) delegation process. Then, search for and select Stakely from the list of validators.
Set the stake period and amount
Choose the stake period (the longer you lock your tokens, the higher your rewards will be) and enter the amount of DATA you want to delegate. Keep in mind that the minimum amount required to delegate is 1024 IP.

Confirm your DATA delegation
Finally, click on Stake DATA and approve the transaction from Rabby Wallet. Once confirmed, your delegation will be active and you'll start earning rewards based on the selected period.