How to liquid stake SOL on SolBlaze with Solflare
Follow this step by step below
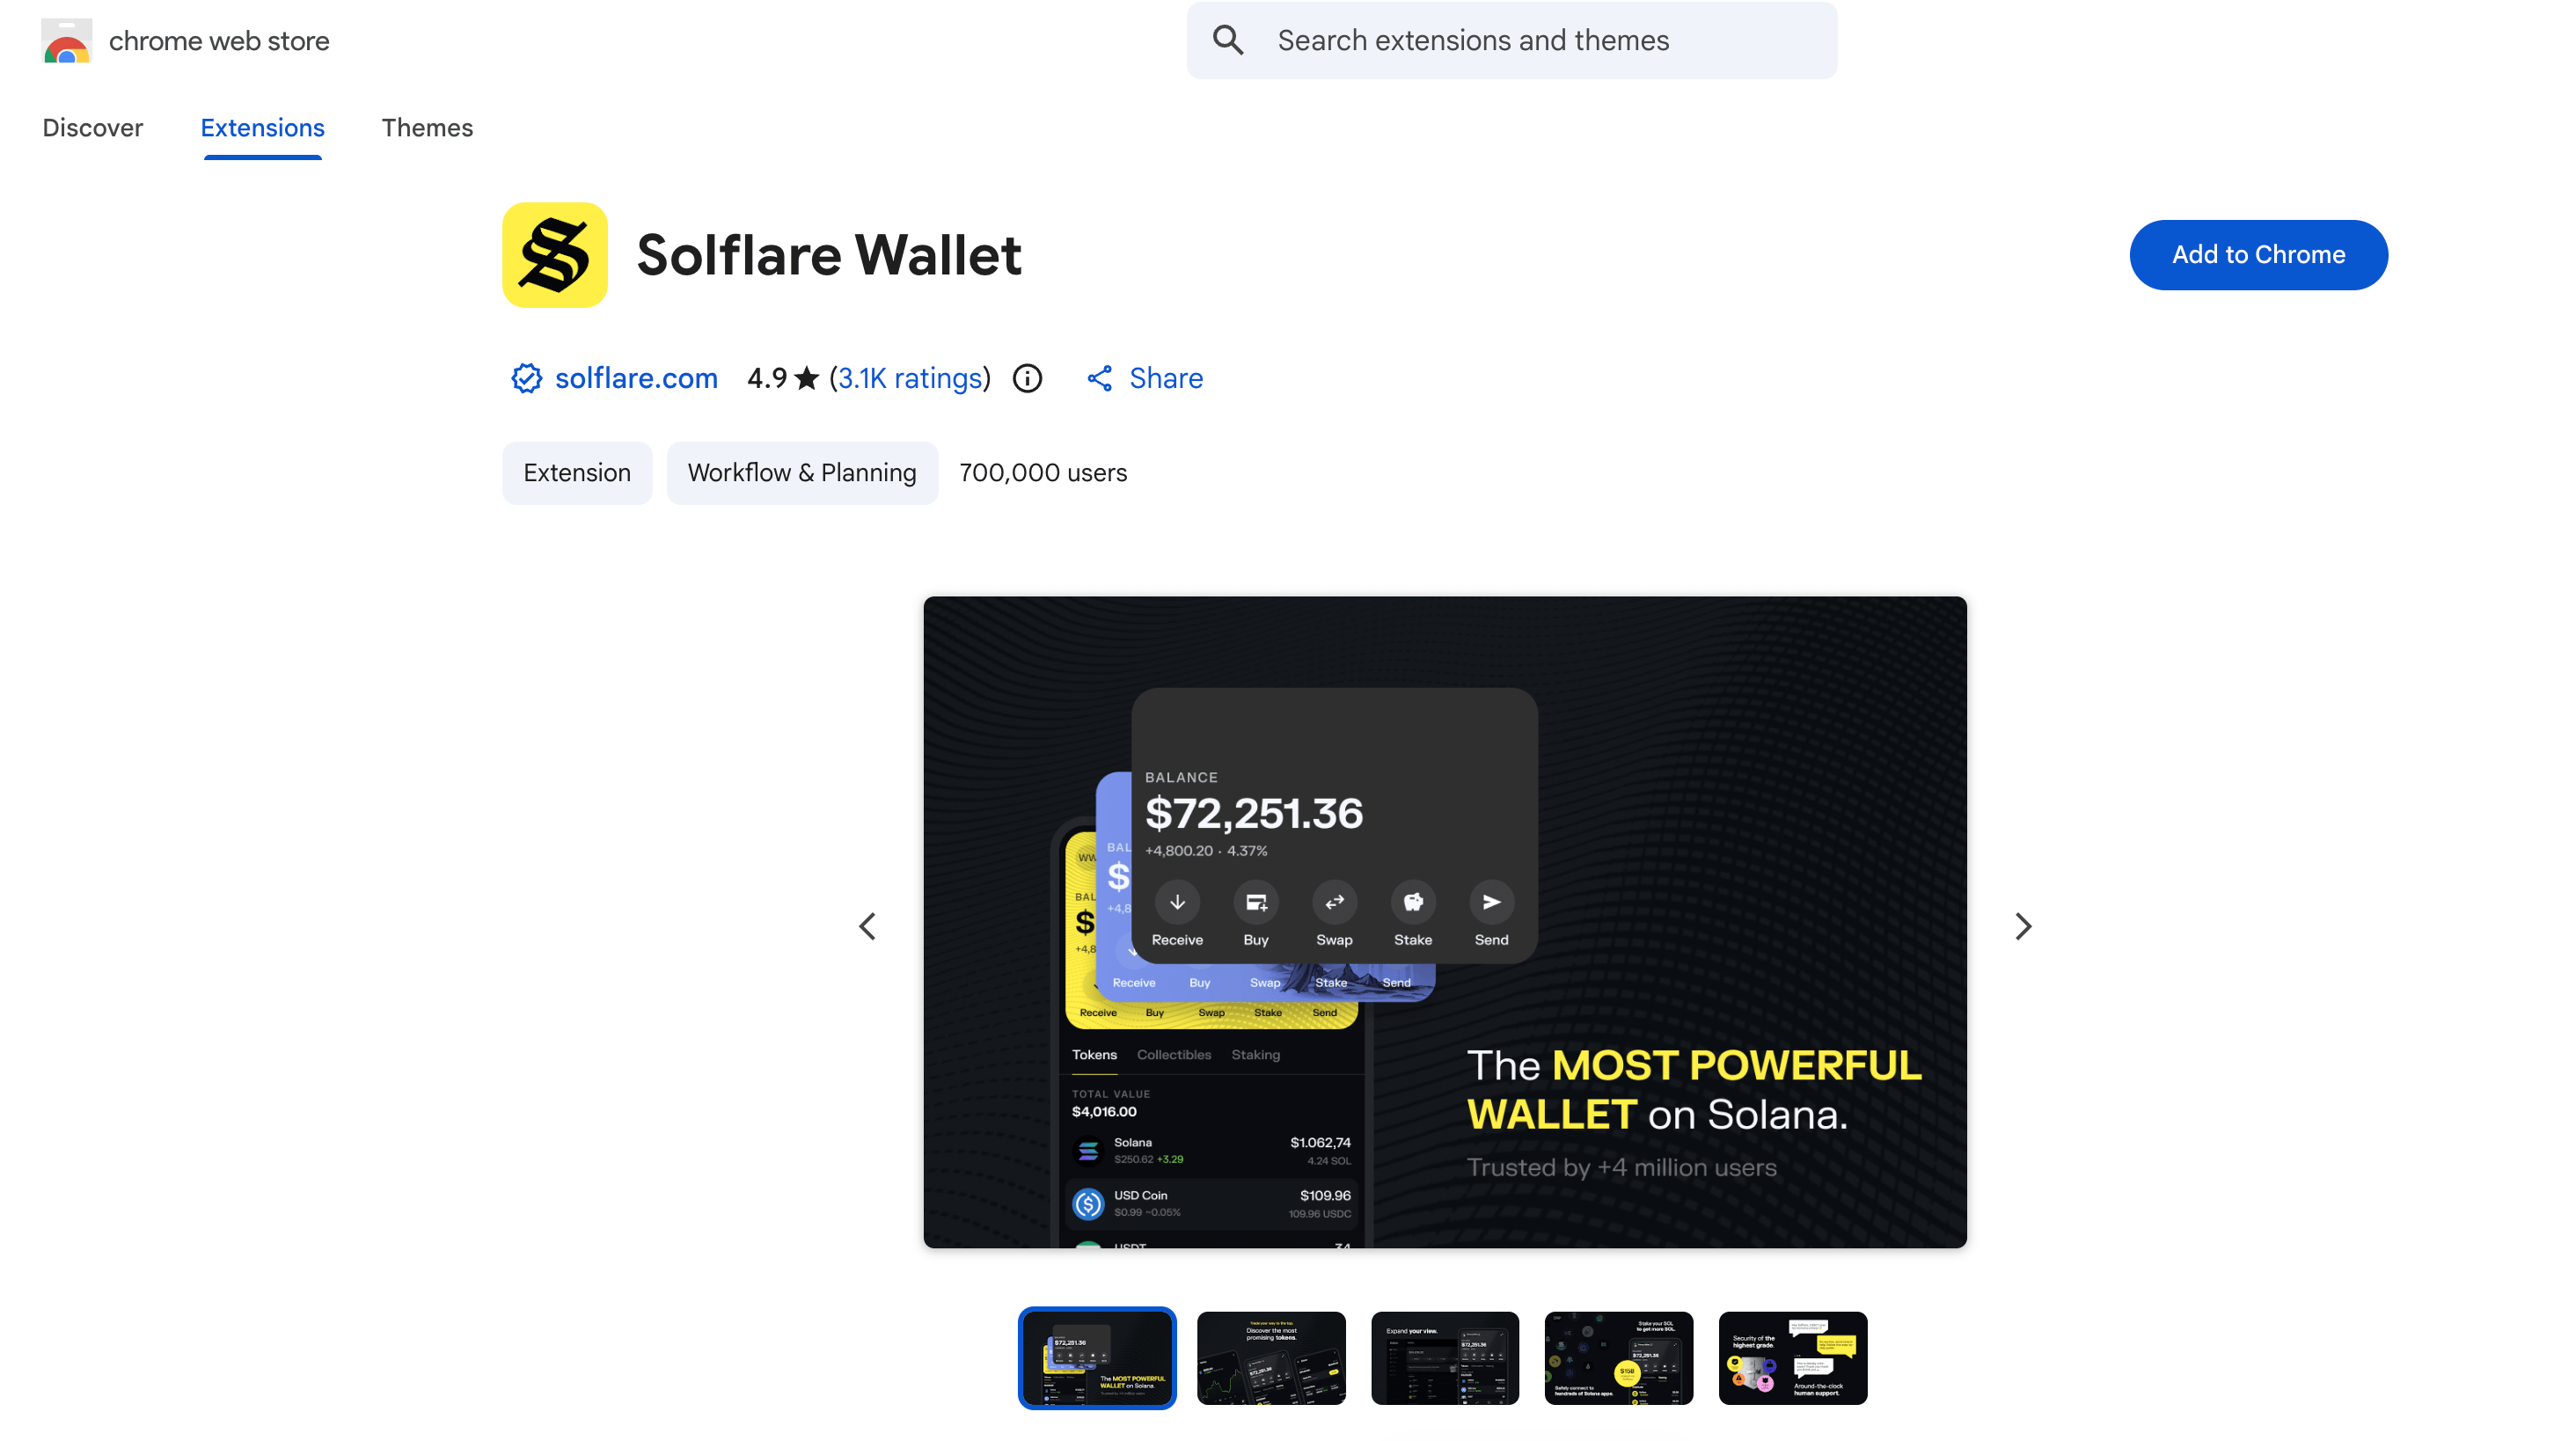
Create a Solflare wallet
To stake SOL on SolBlaze, you first need a compatible wallet. In this example, we will use Solflare, so download and install the browser extension that matches your browser. You can create a new wallet or import an existing one using your seed phrase.
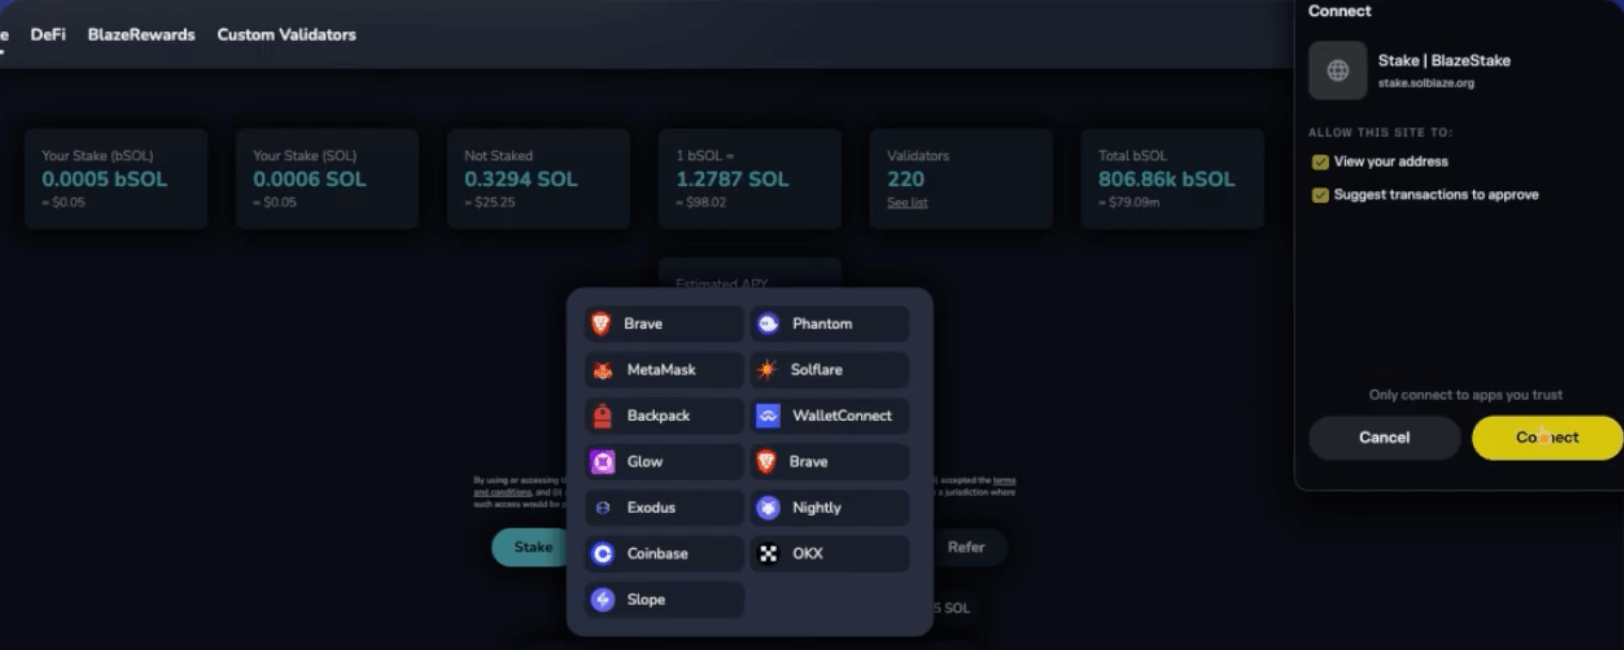
Connect your wallet to the SolBlaze app
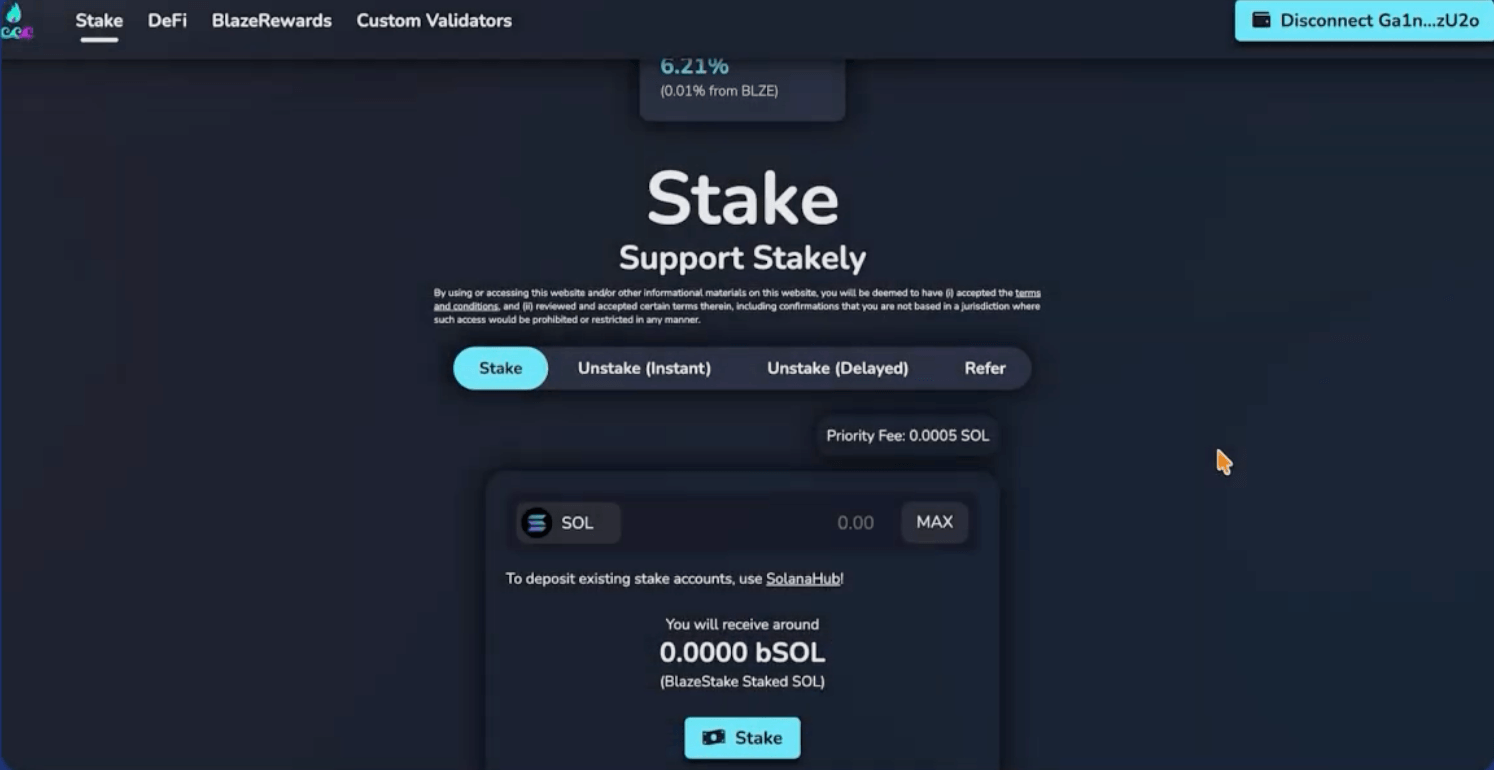
Once your Solflare wallet is ready, go to solblaze.org and click Stake at the top of the page. Then click Stake Now and select Connect Wallet to connect your wallet. In this example, choose Solflare from the list.
Stake SOL by choosing Stakely as your validator
Next, click Custom Validators, find Stakely in the list of validators, and click Stake. Enter the amount of SOL you want to stake and confirm the transaction in your Solflare wallet.
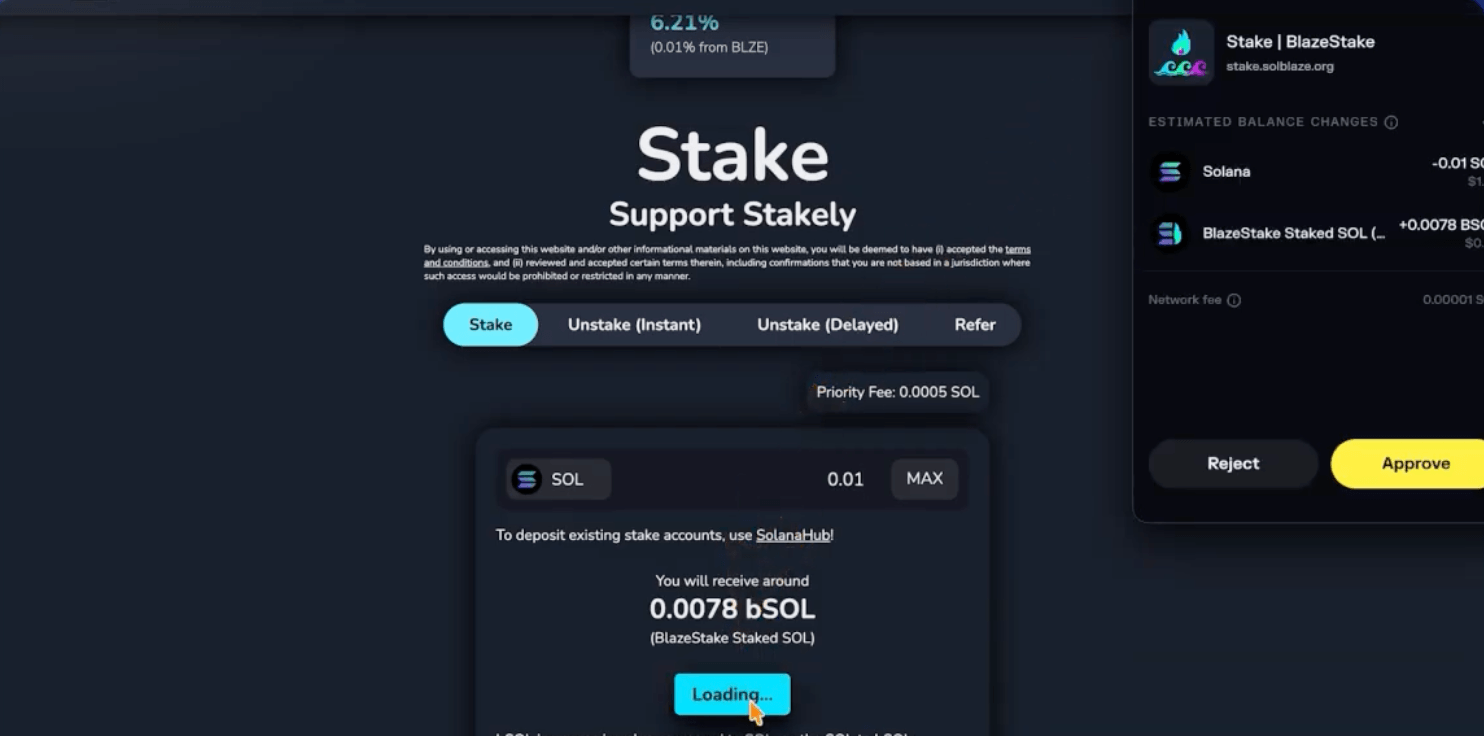
Receive bSOL on SolBlaze
When you stake SOL on SolBlaze, you receive bSOL, a liquid token whose value increases relative to your staked SOL as staking rewards accumulate. You can also use bSOL across different DeFi protocols to generate additional yield on top of your staking rewards.