How to stake OSMO with Keplr
Follow this step by step below
Install Keplr to stake OSMO
To stake OSMO, you will need a Keplr wallet. Install the Keplr extension and create a new account, import an existing one using a seed phrase, or connect a Ledger device with the Ledger app active.

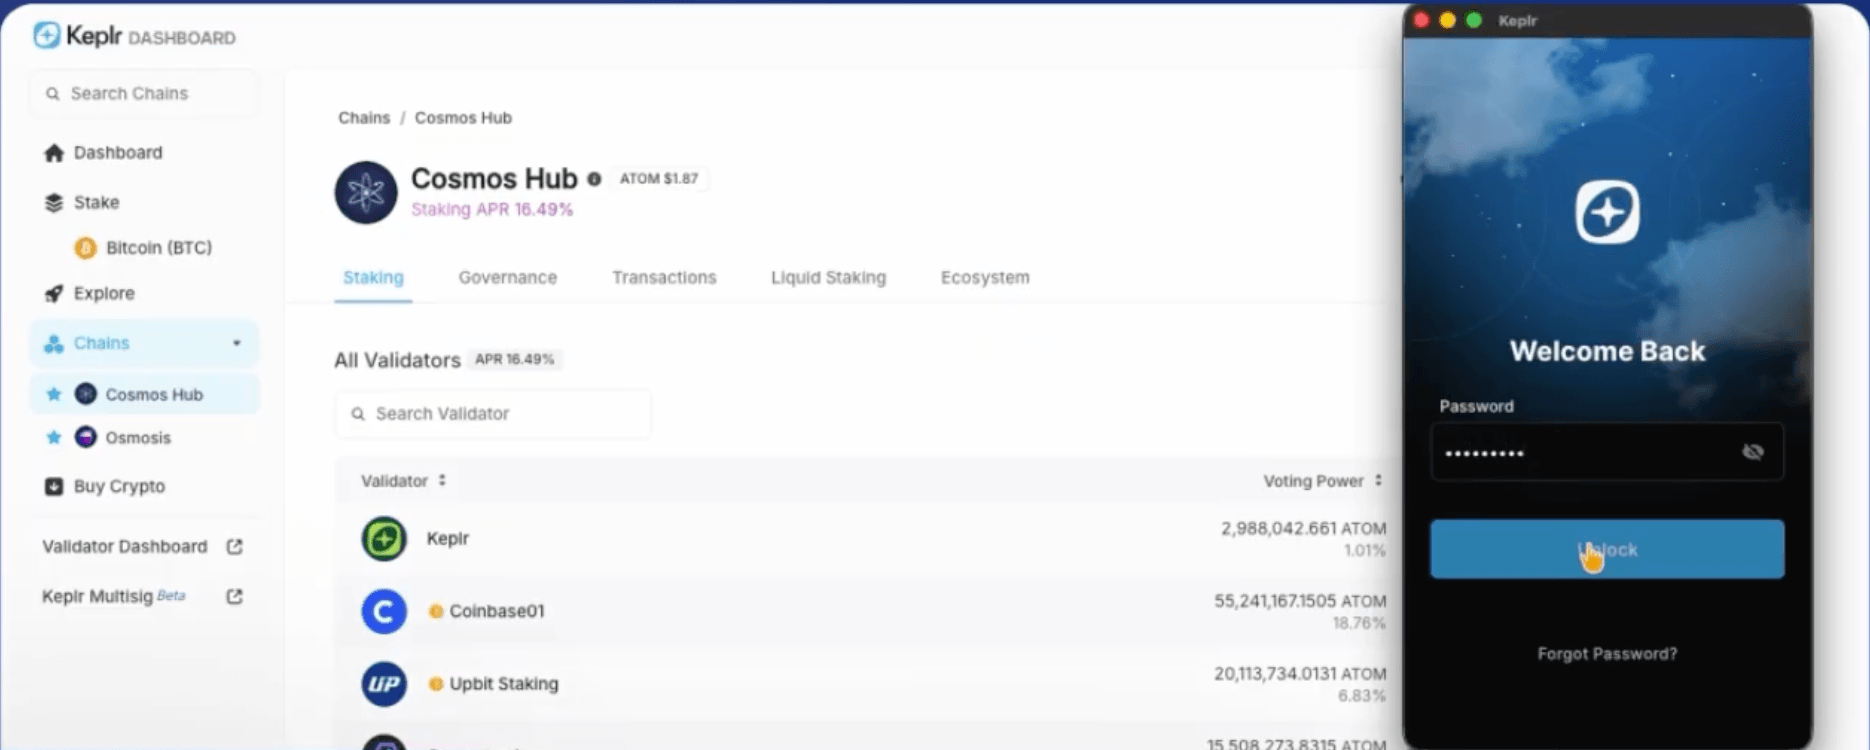
Connect your Keplr wallet
Go to the Keplr Dashboard and click Connect Wallet to connect your Keplr wallet and start the staking process.
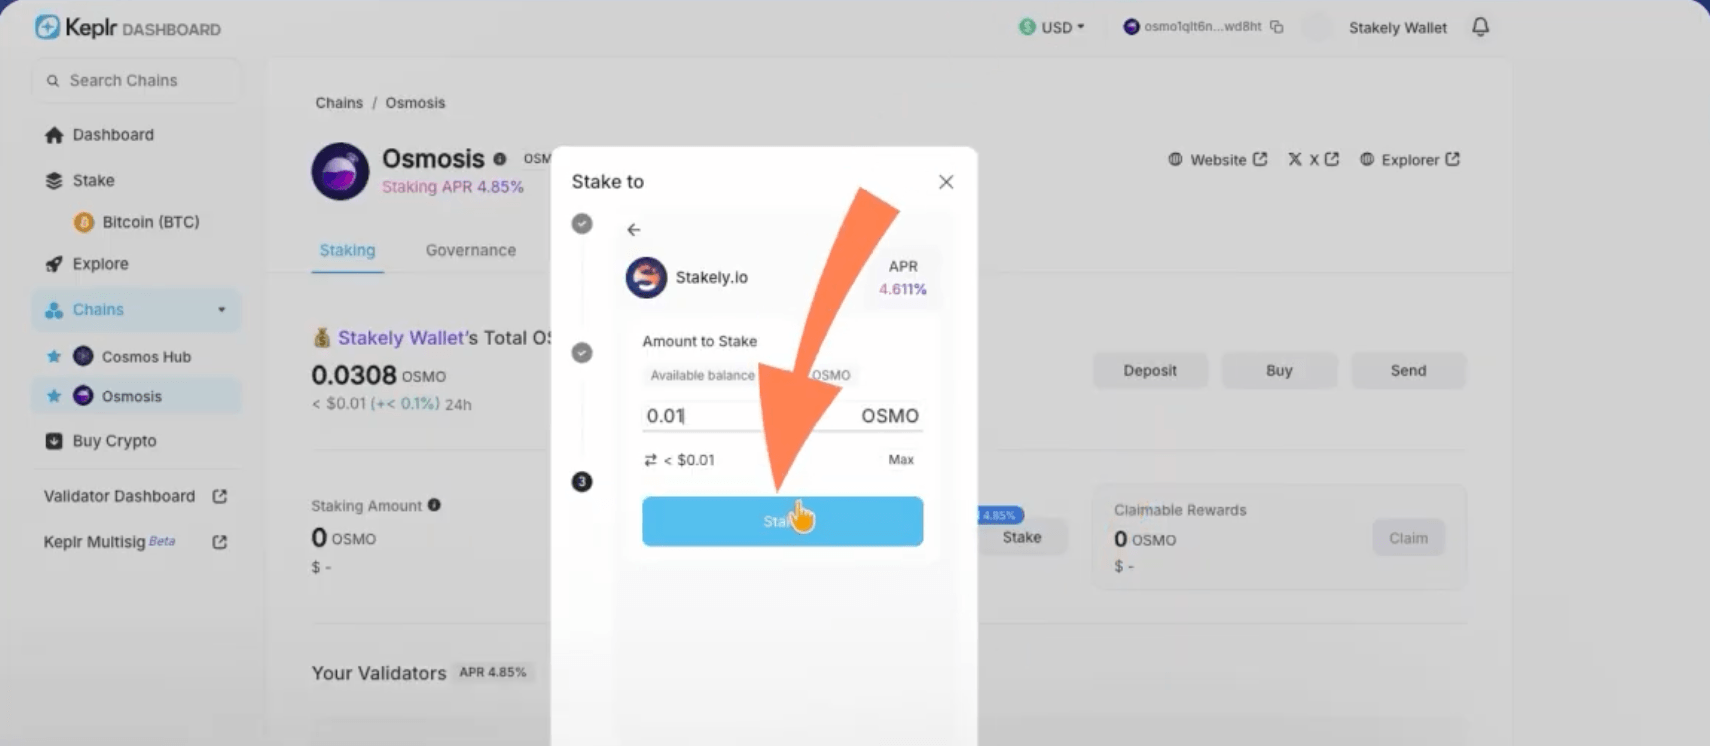
Stake OSMO with Stakely
Click Chains and select Osmosis from the list. Then click Stake to view the available validators. Search for Stakely, select it, and click Stake again. Enter the amount of OSMO you want to stake, making sure to leave a small amount unstaked to cover network fees, and confirm again by clicking Stake.
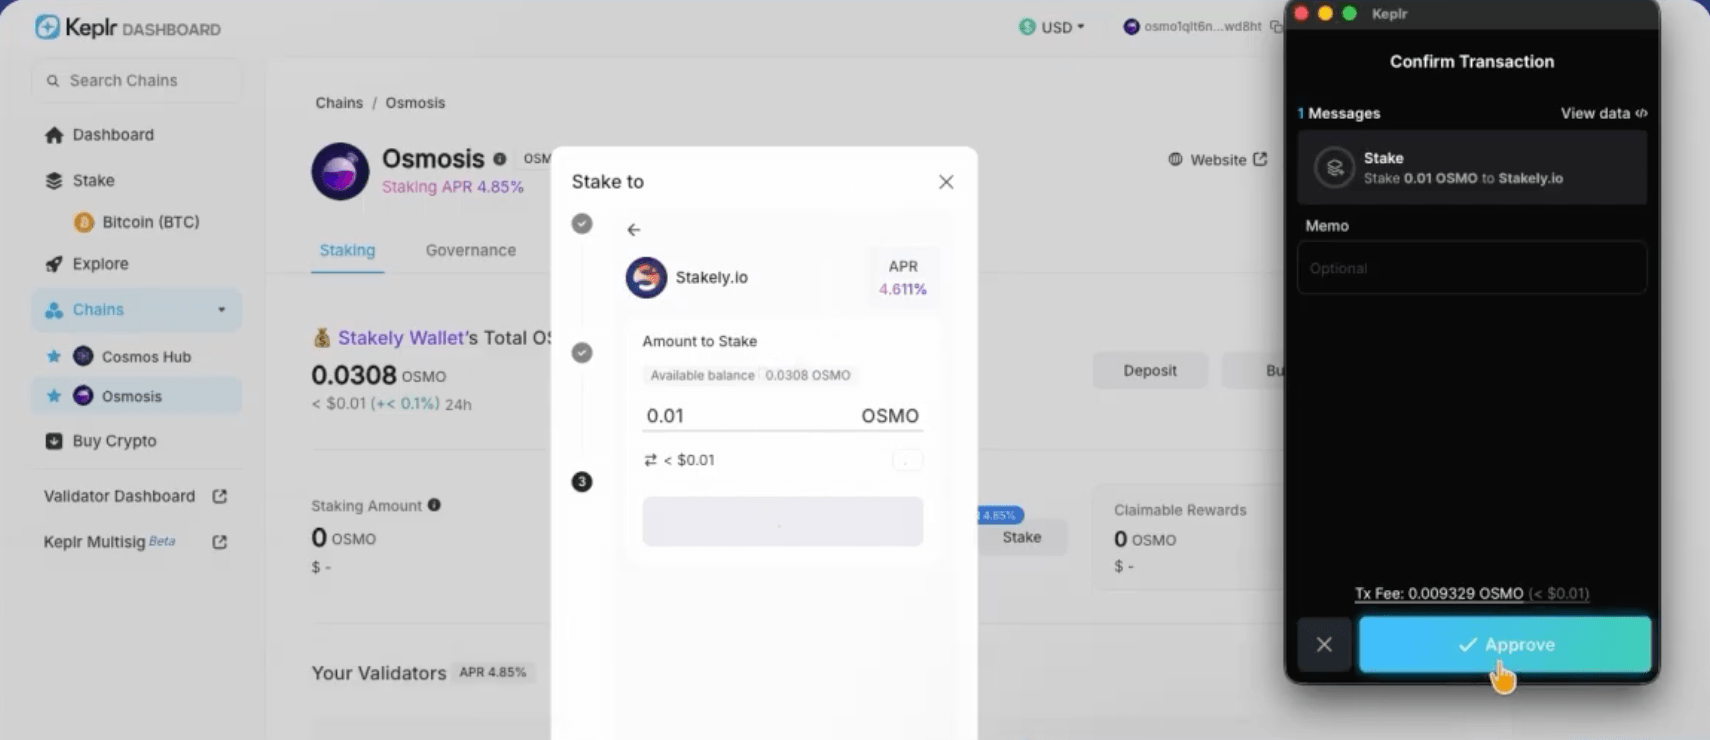
Approve the transaction in Keplr
Review the delegation details and approve the transaction in your Keplr wallet. Once confirmed, your OSMO staking will become active and begin earning rewards.