How to stake NAM with Namada Keychain
Follow this step by step below
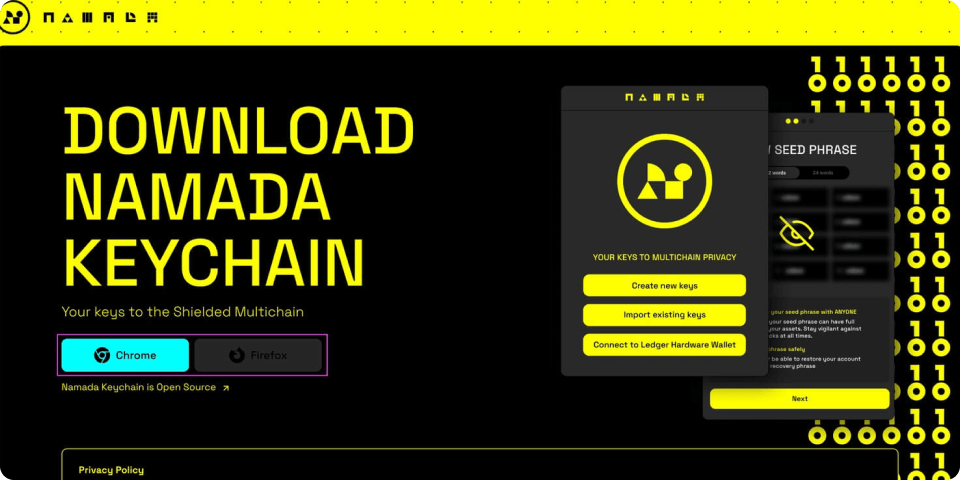
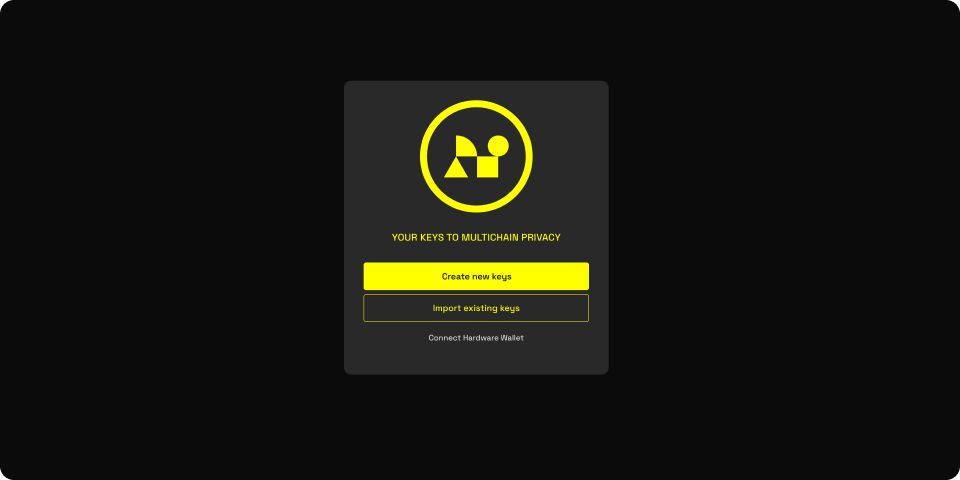
Install the Namada Keychain
Download and install the Namada Keychain browser extension from the Namada website. It is compatible with Chrome and Firefox. Once installed, open the extension and create a new wallet or import an existing one using your recovery phrase. If using a hardware wallet, make sure the Namada app is installed on Ledger Live.
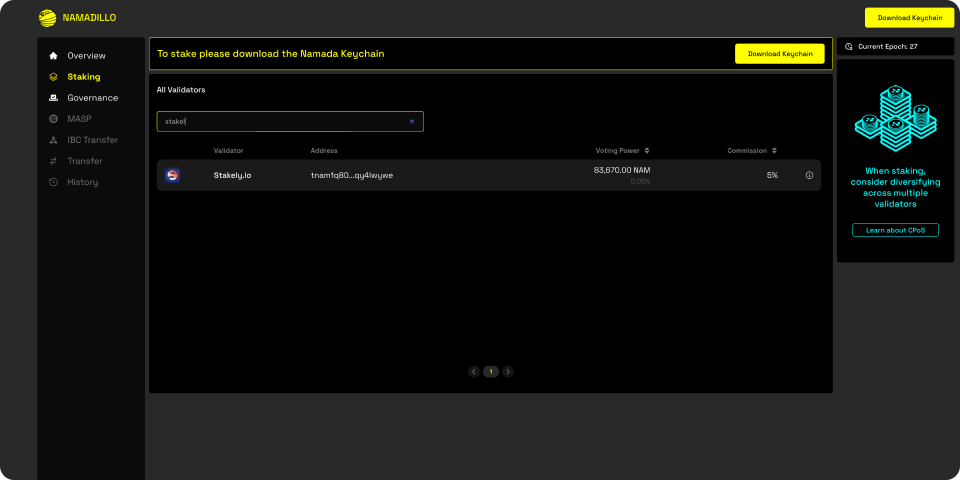
Access the Namadillo Dashboard
Open the Namadillo interface in the same browser where you installed the Namada Keychain extension. Log in to your wallet and connect it to the dashboard by selecting "Connect Keychain." Approve the connection in the extension.
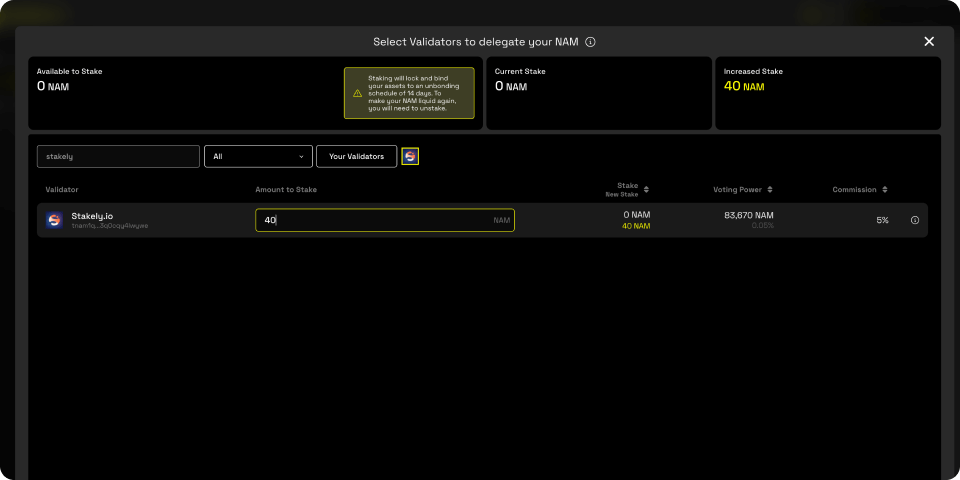
Select Stakely as your validator
Go to the "Staking" tab in the Namadillo dashboard. Search for Stakely in the validator list or use the validator address: tnam1q80ajrpqzv0vz9sl5ye22rprjt3k3q0cqy4lwywe. Enter the amount of NAM tokens you wish to delegate. Be aware that a small transaction fee will be deducted.
Confirm your NAM delegation
Review your delegation details carefully. Click "Approve," then enter the password you created for your wallet to confirm the transaction. Wait for the transaction to complete. You’re all set! Your NAM tokens are now staked, and you’ll start earning rewards.