











Comment staker TIA avec Keplr
Suivez les instructions suivantes

Install the Keplr Wallet
Install the Keplr extension and create a new account, import an account using a seed phrase, or connect the extension with your Ledger device (with the Ledger App installed and opened).


Deposit TIA in your Keplr wallet
In case you don't have TIA tokens in your wallet yet, you can deposit TIA by opening the Keplr extension, clicking on Deposit, and selecting the Celestia network to copy the address to which you should send the TIA tokens.


Access the Stakely App and select Celestia Native Staking
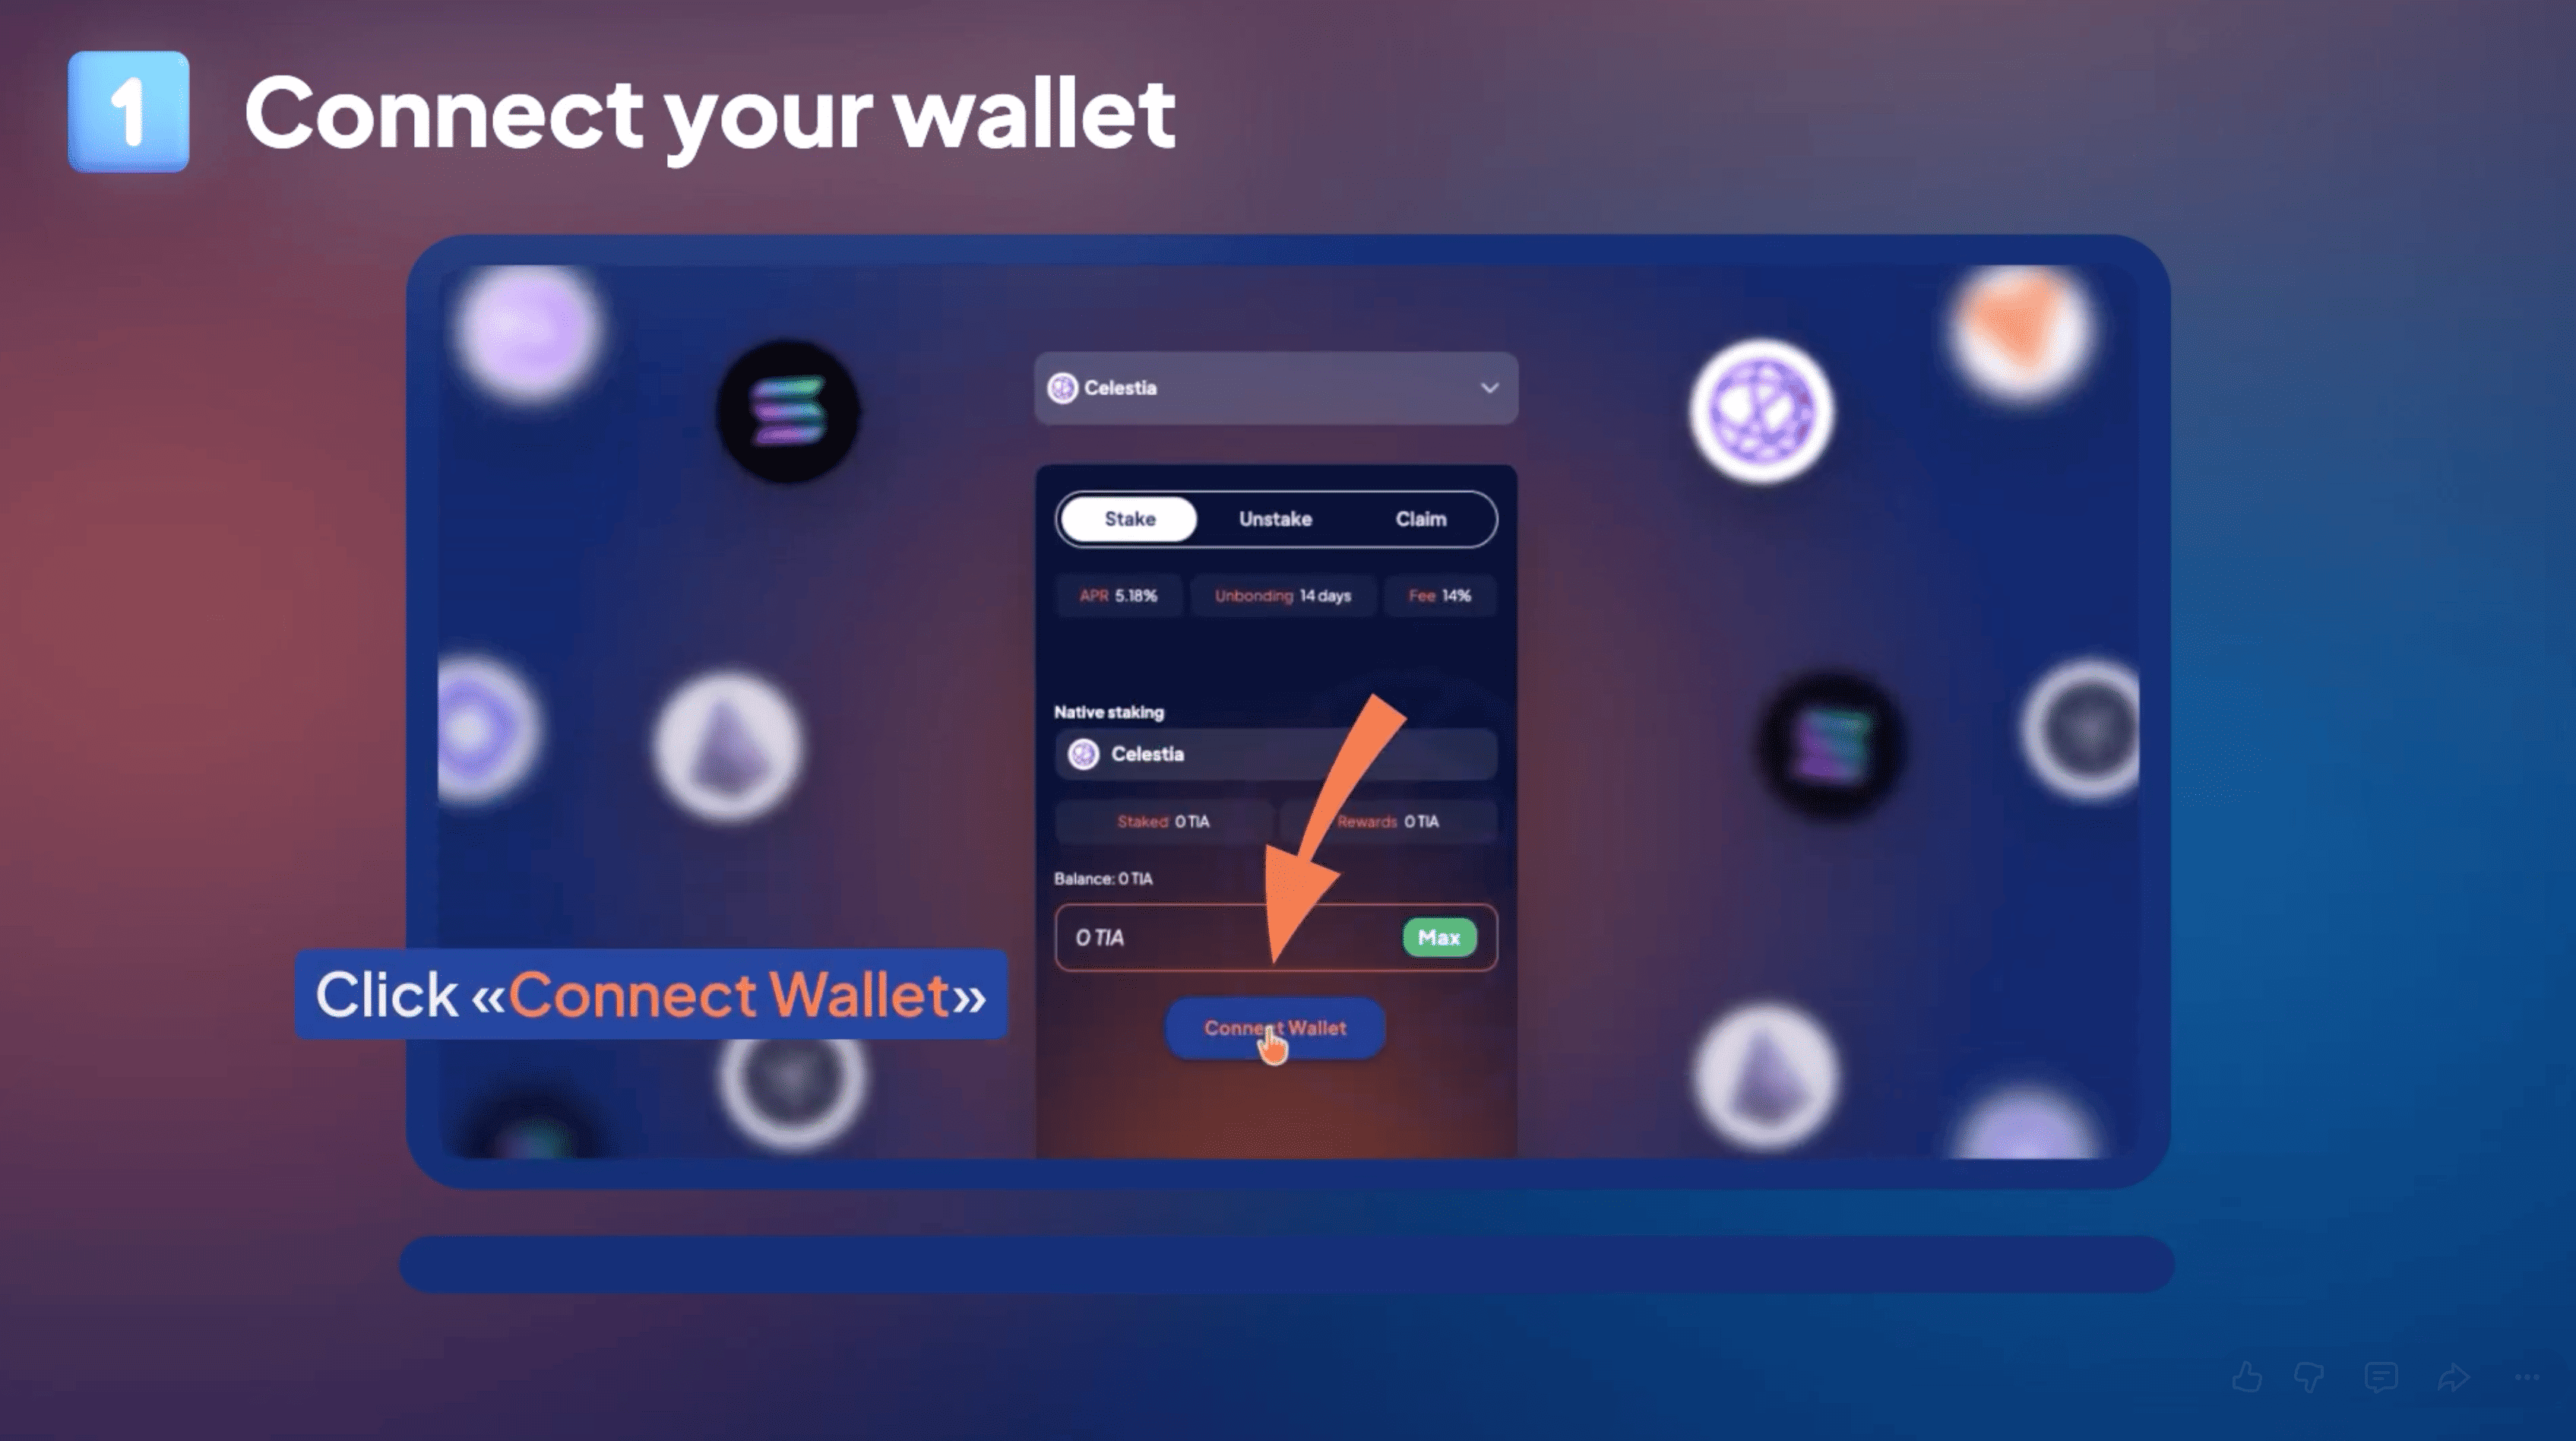
Go to the Stakely Staking App and find the token list. Select Celestia (TIA). Choose the Native staking option and click Connect Wallet. Select Keplr from the wallet list to authorize the connection to the Stakely Staking App.

Enter the amount of TIA you want to stake
Once connected, your wallet address and active TIA balance will be visible on the interface. In the input field under the Celestia staking panel, type the amount of TIA you want to delegate. Alternatively, click Max to select your entire balance.
Tip: Always leave a small amount of TIA in your wallet to cover gas and transaction fees on the Celestia network!

Confirmez votre staking et approuvez la transaction
Vérifiez les paramètres de staking affichés sur le tableau de bord et cliquez sur Stake.
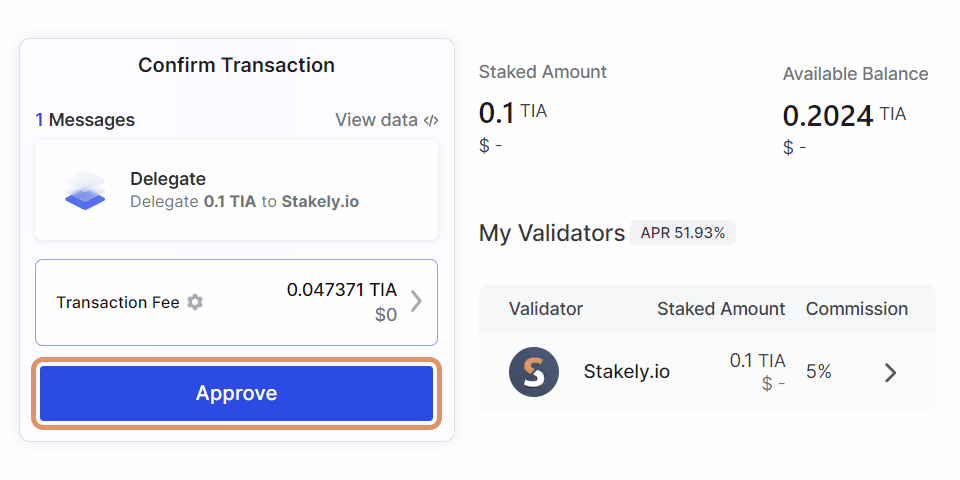
Une invite apparaîtra dans l'extension de navigateur Keplr de votre portefeuille connecté. Examinez les paramètres de la transaction et cliquez sur Approve (Approuver) pour finaliser votre délégation.
Après confirmation, vous pouvez ouvrir votre tableau de bord à tout moment pour suivre votre position de staking (y compris le TIA staké et les récompenses accumulées), retirer votre staking (unstake) ou réclamer vos récompenses (claim rewards).


